
Last updated November 15, 2026
 Wrought iron
 Wood & steel frame
 Farm & ranch
 Sliding driveway gates
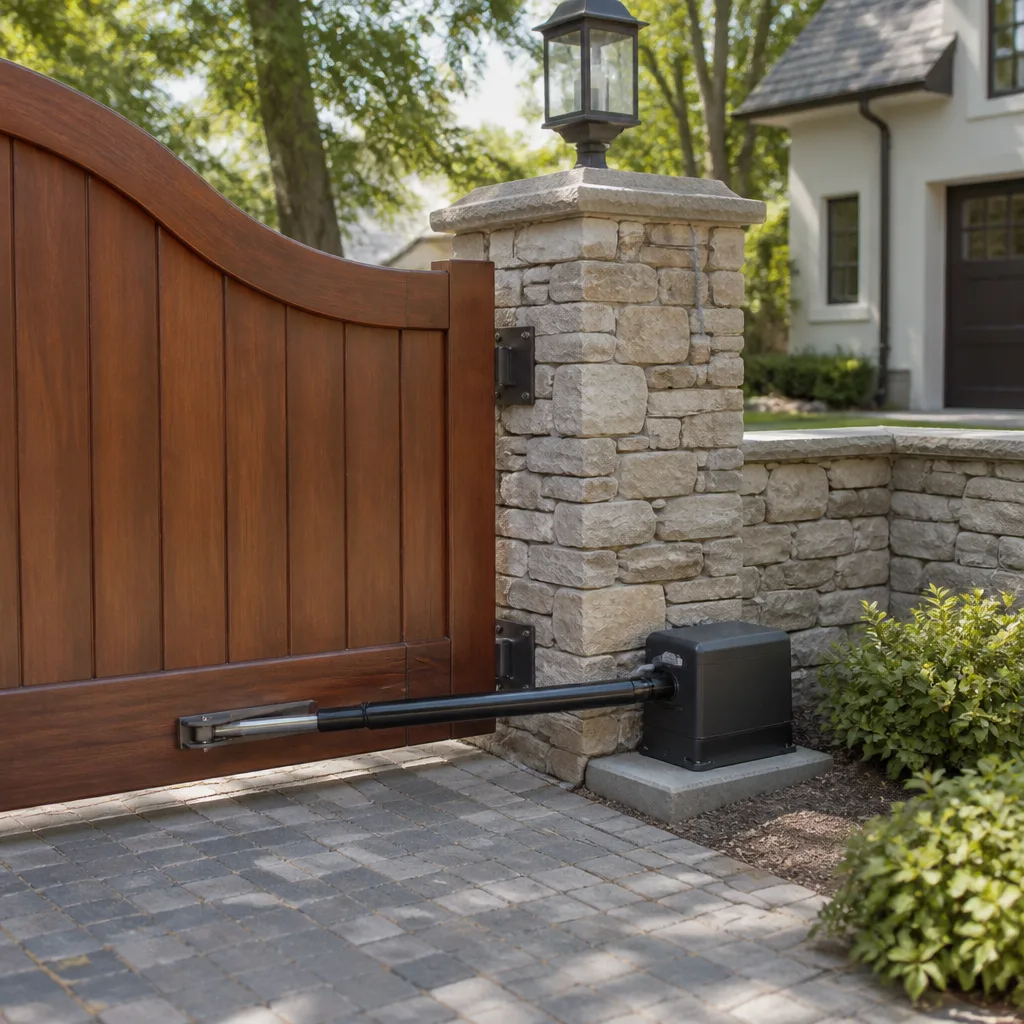 LiftMaster operators
Free on-site gate assessment - hinges, posts, and your LiftMaster or Nice gate operator checked before anything is quoted
The assessment is free and the quote is the invoice.
Get your free estimateDIY vs Professional Gate Repair: The Modesto Homeowner’s Decision Guide
Most gate repair advice sorts jobs by difficulty: easy fixes you can handle, hard ones you can’t. That’s the wrong lens. The real question isn’t how hard a repair looks. It’s whether the failure lives in the mechanics, the electrical control system, or the structure of the gate itself. Those three categories carry completely different risk profiles, and they need different tools to diagnose correctly. A sticky latch is mechanical. A gate that reverses at random on a warm afternoon is usually an electrical signal problem. A cracked hinge post is structural and beyond almost any DIY toolkit. Knowing which category you’re looking at tells you more than a difficulty rating ever will. This guide sorts repair decisions by category for Modesto homeowners, so you can make the call with clear eyes.
Quick Answer
Handle mechanical problems yourself if you have the right tools: a sticky latch, a worn roller, a manual gate dragging on its track. Call a professional for anything involving the operator’s control board, wiring, safety sensors, or the gate’s structural frame. The middle ground, where a repair looks simple but depends on calibration or signal testing, is where most DIY attempts go wrong and end up costing more than a professional visit would have.
Styles & brands we work with
- Wrought iron
- Wood & steel frame
- Farm & ranch
- Sliding driveway gates
- LiftMaster operators
Table of Contents
- The Three-Category Framework for Gate Repairs
- Mechanical Repairs: The Genuinely DIY-Friendly Category
- Electrical and Control Repairs: DIY-Possible, High-Risk
- Structural and Welding Repairs: Professional-Only
- Specific Repairs That Look Simple but Fail DIY
- The Tools You Actually Need to Diagnose a Gate
- UL 325 and Safety Edge Testing: The Liability Question
- The Cost Calculation That Actually Matters
The Three-Category Framework for Gate Repairs
Before you decide whether to pick up a wrench, classify the problem. Every gate failure falls into one of three buckets, and each one has a different answer when you ask “should I fix this myself?”
Mechanical failures are physical wear and misalignment: hinges, rollers, latches, tracks, gate posts, chains. You can see these problems, you can usually touch them, and with the right tools you can often address them safely. This is the category where DIY makes real sense.
Electrical and control failures live inside the operator. This covers control boards, limit switches, photo-eye sensors, loop detectors, remotes, wiring runs, and the low-voltage logic that ties them together. Some of this work is within reach for a confident homeowner, but much of it requires diagnostic equipment that most people don’t own. This is where DIY attempts most often miss the actual cause.
Structural failures involve the gate’s frame: bent posts, cracks at the hinge weld, sagging at the top rail, broken uprights on heavy gates. These aren’t just hard to fix. They’re genuinely dangerous, because a gate that fails structurally while moving can trap or crush a person or vehicle. This category is professional-only, full stop.
Sorting by category rather than difficulty does one more thing: it steers you away from the most common DIY mistake, which is assuming an electrical symptom is mechanical. A gate that binds halfway through travel might look like a track problem. Often it’s a limit switch that’s drifted out of calibration. In Modesto, where many gates sit exposed to the full summer sun for hours, we see heat-related expansion of tracks and hinges produce symptoms that look electrical but are actually mechanical.
Mechanical Repairs: The Genuinely DIY-Friendly Category
Mechanical repairs are where a careful homeowner can save real money. The work is visible, the parts are simple, and the consequences of a mistake are usually minor: a gate that still slides but creaks, or a latch that doesn’t quite click. If you’re reasonably handy and comfortable with basic tools, this category is worth taking on.
Common mechanical repairs that are legitimately DIY-friendly:
- Latch adjustment. A gate that won’t latch properly is usually a matter of a few turns on the strike plate or latch post. No special tools, no risk.
- Hinge replacement. Worn hinges on a light residential gate can be swapped with basic hand tools. One person holds, one person swings.
- Roller replacement on sliding gates. If the rollers are worn and the gate is dragging, replacing them is a straightforward job on a gate light enough to support on blocks.
- Track cleaning and minor realignment. Debris in the track, minor bends in the top rail, or small obstructions are all safe to address yourself.
- Manual gate post caps, hardware, and cosmetic hardware. Non-structural hardware swaps are always safe DIY territory.
Before you start, weigh the gate. A lightweight residential swing gate is manageable. A heavy steel slide gate is not. If you can’t lift one end of the gate to put a block under it, you shouldn’t be replacing its rollers or hinges by yourself. Ask for help, or hand the job to a technician. In Modesto, older gates in established neighborhoods often have heavier frames than newer builds, so the weight question matters more than it might elsewhere.
When a mechanical problem sits near an operator, though, the category changes. A worn roller on a gate connected to an automatic operator can push the motor into an over-torque fault. Now you’re in the electrical category even though the problem started mechanical. Read the symptom, not just the visible wear.
Electrical and Control Repairs: DIY-Possible, High-Risk
This is the murky middle, and it’s where most DIY attempts fail. Electrical and control work falls into a wide range. Some of it is genuinely doable. Some of it isn’t. The line between the two is sharper than people expect.
These electrical tasks are within reach for a careful homeowner:
- Reprogramming a remote or keypad. Following the manufacturer’s programming steps is safe and doesn’t touch the gate’s enclosure.
- Replacing a photo-eye sensor. The physical swap is simple, and the wiring is low-voltage.
- Swapping a battery backup. Straightforward on most residential operators.
- Resetting a tripped breaker at the panel. Standard household safety, not gate-specific.
These electrical tasks are not practical for DIY:
- Control board replacement with parameter transfer. A new board is not a plug-and-play part. It has to learn the operator’s limits, sensitivity, speed, and safety parameters, and those values need to be transferred from the old board before it’s removed. On a DoorKing or FAAC commercial unit, missing one setting changes how the gate behaves.
- Limit switch calibration on swing operators. Limit switches tell the operator where “fully open” and “fully closed” are. If they drift, the gate stops short or reverses at the end of travel. Calibrating them requires understanding the operator’s travel logic and testing under load.
- Loop detector troubleshooting. A vehicle loop that triggers a gate for no reason or fails to detect a car isn’t always a dead loop. Sensitivity, frequency, and interference all factor in. Adjusting a loop detector blind is guesswork.
- Any wiring that runs to line voltage. This is the boundary. Line-voltage work belongs to a licensed electrician or a gate specialist trained in it.
For higher-end residential gates, we most often see the loop detector and limit switch problems on DoorKing and Viking systems. Both brands build excellent, durable operators, but they don’t forgive a mis-set parameter. What looks like a board failure is frequently a limit switch that drifted a millimeter and needs calibration, not replacement.
Structural and Welding Repairs: Professional-Only
Structural gate repairs should never be a DIY project. This category covers anything that affects the gate’s frame, its posts, or the load-bearing connections between the gate and its operator. The reasons are simple: structural failures hurt people, and welding failures don’t announce themselves until the gate is moving under load.
Structural issues that require a professional:
- Cracked or bent hinge post. Once a gate post starts to move, the gate stops aligning with its strike, and its operator stops working correctly. The post has to be reset in proper footing depth, not just patched.
- Cracks at the hinge weld. A hinge welds to both the gate frame and the post. A crack there means the gate is one heavy swing away from coming off. This is a weld job plus a frame straightening, not a touch-up.
- Bent or broken top rails or uprights. Straightening a bent rail requires knowing the load path of the gate’s frame. Bending it back without heat can crack it.
- Sagging cantilever or slide gates. A gate that’s sagging is telling you the frame has lost its structural integrity. The fix involves re-engineering, not just adjustment.
Welding is the obvious tool here, but it’s not the only reason these jobs belong in professional hands. Structural repair also involves checking that the gate’s alignment, the operator’s mounts, and the footing are all still coordinated after the repair. A gate that’s welded straight but mounted off-center will drag, bind, and wear out its operator in months.
At a residential level, this comes up most often with older Modesto gates in established neighborhoods where posts have settled over years in expansive soil. If the gate swings but the post leans, the leaning post is the real problem, and welding isn’t the fix. The post has to be reset, and that’s a structural job.
Specific Repairs That Look Simple but Fail DIY
A handful of repairs look deceptively simple. In our experience, they’re the ones that most reliably send homeowners back to us with a worse problem than they started with. If any of these describe your gate, think twice before taking it on.
Loop detector sensitivity adjustment. On the surface, a loop detector failing to detect a car is a matter of turning up its sensitivity. But sensitivity interacts with the size of the loop, the number of wires in it, and nearby metal. Adjusting it too high creates false triggers when a nearby car drives past. Too low, and the gate won’t open for legitimate vehicles. Without a loop detector tester, you’re adjusting in the dark.
Limit switch calibration on swing operators. A gate that stops short of fully open or reverses at the end of travel is usually a limit switch problem, not a motor problem. The most common DIY outcome is replacing a working motor because it wasn’t the issue. The real fix is calibrating the limits to the operator’s specific travel logic, on a Linear or Ghost Controls unit or any other.
Board replacement with parameter transfer. A dead board seems like a clean swap: pull the old board, plug in the new one. The problem is that every important setting on that old board was tuned to this specific gate. Speed. Sensitivity. Travel limits. Safety edge behavior. Skip the parameter transfer and the new board will run the gate with generic values that fit nobody. On some commercial operators, a wrong parameter can make the gate slam or refuse to move.
Photo-eye alignment. Photo-eyes that aren’t firing isn’t always a dead photo-eye. On sunny afternoons, the receiver can be swamped by polarized light from a low sun angle, causing it to fail intermittently. The fix is often repositioning or replacing with a sun-shielded unit, not just swapping parts. Without a signal tester, you’ll replace a working photo-eye repeatedly and never solve the actual cause.
Remote frequency issues. A remote that works intermittently is usually assumed to be a dead battery. Sometimes it’s a frequency conflict with a neighboring system, especially in tight residential areas. A handheld frequency checker confirms this in seconds. A visual inspection cannot.
The Tools You Actually Need to Diagnose a Gate
Diagnosing a gate correctly requires more than a screwdriver and a flashlight. If you’re going to attempt any of the electrical or borderline repairs listed above, here’s the minimum toolkit. Without these, you’re guessing, and guessing is where DIY gets expensive.
A multimeter is non-negotiable. Every electrical diagnostic starts with voltage readings and continuity checks. If you don’t have one and don’t know how to use it, that alone tells you the electrical category isn’t yours.
A loop detector tester is the only way to confirm that an in-ground loop is actually working. It reveals the loop’s frequency and signal strength, which tells you whether the problem is the loop, the detector, or interference. Without one, a loop issue is a coin flip.
A handheld remote frequency checker confirms whether a remote is transmitting at all, at what frequency, and at what strength. A visual inspection cannot do this. This tool is what turns “the remote doesn’t work” from a battery-replacement guess into an actual diagnosis.
A safety edge tester lets you confirm that the entrapment protection is responding to contact, which we’ll cover in the next section.
A voltage tester with a load setting reveals whether a battery backup is holding charge under load or only reading full on a surface test. Operators like FAAC and BFT commercial units need this.
In our experience, most of the misdiagnosis we encounter when we’re called after a DIY attempt comes down to one of two things: no loop tester, or no frequency checker. Both are diagnostic tools, not repair tools. They cost money, and they pay for themselves the first time they save you from replacing a part that wasn’t broken.
For a closer look at how our Gate Repair Modesto team approaches diagnosis, we work through all three categories before quoting any repair.
UL 325 and Safety Edge Testing: The Liability Question
UL 325 is the safety standard that governs automatic gate operators in the United States. It requires that operators have some form of entrapment protection. On residential and commercial gates, this typically means photo-eye sensors, safety edges, or both. This standard is not optional, and it’s not only about the operator’s manufacturer. It’s about how the operator behaves when it meets an obstruction.
Here’s the part that catches most DIY homeowners: after any repair involving the operator, the safety edges and photo-eyes have to be tested to confirm they still work. Not visually inspected. Tested, with an obstruction, to confirm the gate stops or reverses.
If you replace a board, adjust limits, replace a photo-eye, or reconnect power after a repair, and the safety edge isn’t tested, the gate may work perfectly in normal operation and fail exactly when someone is standing under it. In California, if that failure causes injury, the person who performed the repair can share liability. That’s you, if you did it yourself.
The specific danger on a gate page isn’t springs, because a gate doesn’t have them. The danger is heavy moving panels that can trap or crush a person, and slide gates that can come off a track and fall. Safety edges and photo-eyes are what prevent those failures. If you don’t have a safety edge tester and don’t know how to reproduce a proper obstruction during a test, any operator repair is beyond DIY.
We handle electric gate repair with UL 325 entrapment protection in mind on every job. If your operator has ever been repaired without a test, that’s a reason to have it checked, even if the gate is running normally.
The Cost Calculation That Actually Matters
The DIY vs. professional cost math most people run is simple: part cost + my time vs. labor rate. That’s the wrong calculation. The one that matters is the cost of attempting it yourself first, then calling a professional, versus calling a professional first.
Here’s what actually drives the final cost when a DIY attempt has been made:
- Replacing parts that weren’t broken. The most common cost driver. A homeowner swaps a working motor because they thought it was the issue, and the professional still has to solve the real problem plus recover the cost of the wrong part.
- Damage from the wrong tool or wrong force. Bending a hinge post, over-torquing a threaded rod, cracking a weld that was sound.
- Resetting a board that’s been mis-programmed. A board replaced but not calibrated has to be reprogrammed from scratch, sometimes after the original board has been discarded, which means the settings nobody wrote down are gone.
- Operator failure after an adjustment. A loop detector turned up too high that triggers a gate every five minutes wears the motor faster than the fault it was meant to fix.
- Safety edge damage from a DIY test. A safety edge that wasn’t tested correctly after a repair may not work at all, and the replacement is on the homeowner.
In our experience, the average DIY-then-professional call costs more than a professional-first call would have. Not always, but often. The cases where DIY genuinely saves money are the mechanical ones, where the repair is visible, the part is cheap, and a mistake doesn’t do damage. The cases where it costs more are the electrical and control ones, where the diagnosis matters more than the repair.
If you’ve already attempted a repair and want a free estimate on getting it sorted, we cover all three categories and can walk you through what we find before any work starts.
Common Mistakes to Avoid
- Treating an electrical symptom as a mechanical problem. A gate that binds halfway through travel is not always a track problem. On a growing share of Modesto gates, it’s a limit switch that’s drifted out of calibration. Sort by category before you sort by symptom.
- Replacing a part without a diagnostic tool. The most expensive single mistake we see. A multimeter, a loop detector tester, and a frequency checker are what separate diagnosis from guesswork. Without them, you’re swapping parts.
- Forgetting to transfer parameters on a board swap. A new board is empty until it’s programmed. On a DoorKing or FAAC unit, a missing parameter can change the gate’s behavior completely, including its sensitivity to obstructions.
- Skipping the UL 325 safety test after repair. Any operator repair needs safety edges and photo-eyes tested with an actual obstruction. Not inspected. Tested. This one carries real liability under California law.
- Attempting structural work on a gate that’s already failed. If a hinge weld is cracked or a post has moved, the gate is one swing from failing. Don’t stand near it, let alone weld it.
- Adjusting loop sensitivity without confirming the loop itself. You can crank sensitivity all the way up and still have a gate that won’t open, if the loop ground is the problem. Test before you adjust.
- Loading a heavy steel gate on blocks by yourself. Modesto’s established neighborhoods have plenty of older gates with real weight. Without help, you’re asking for a pinch injury or a twisted frame.
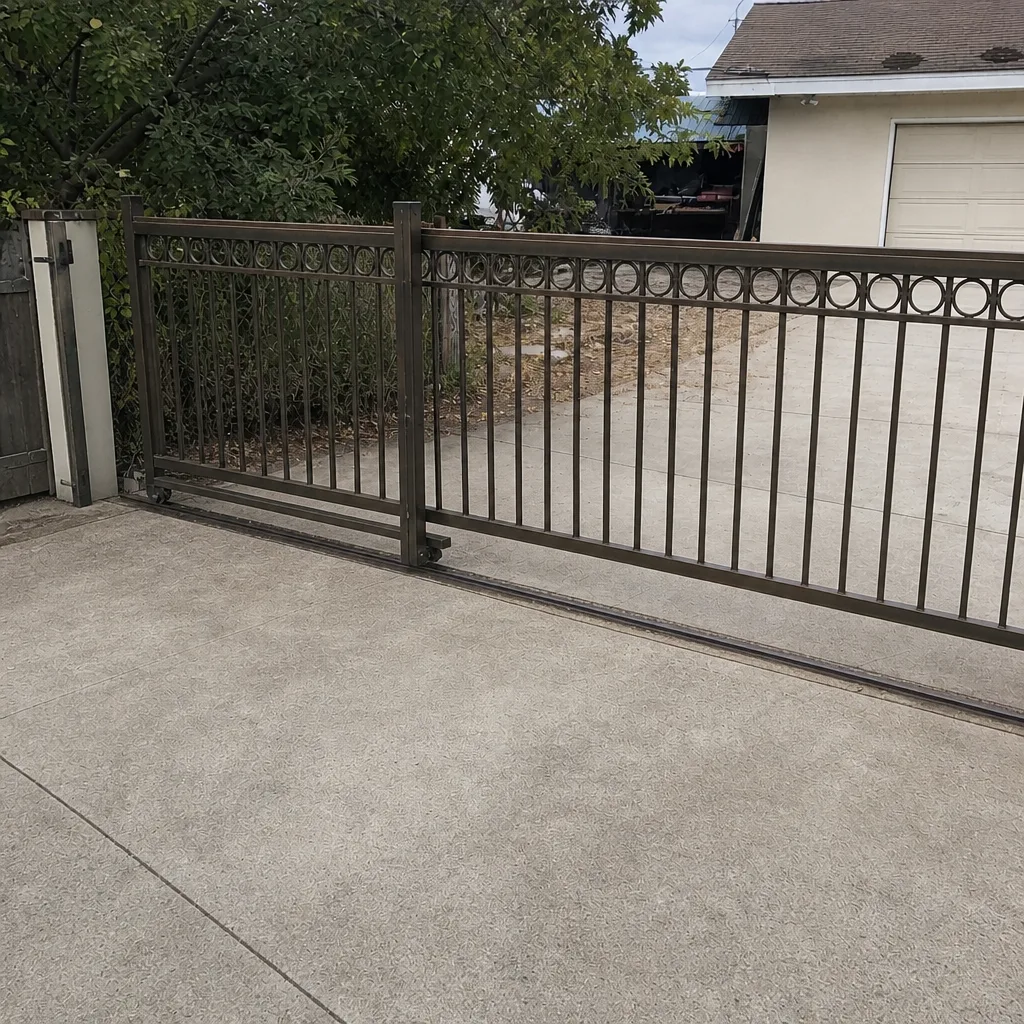
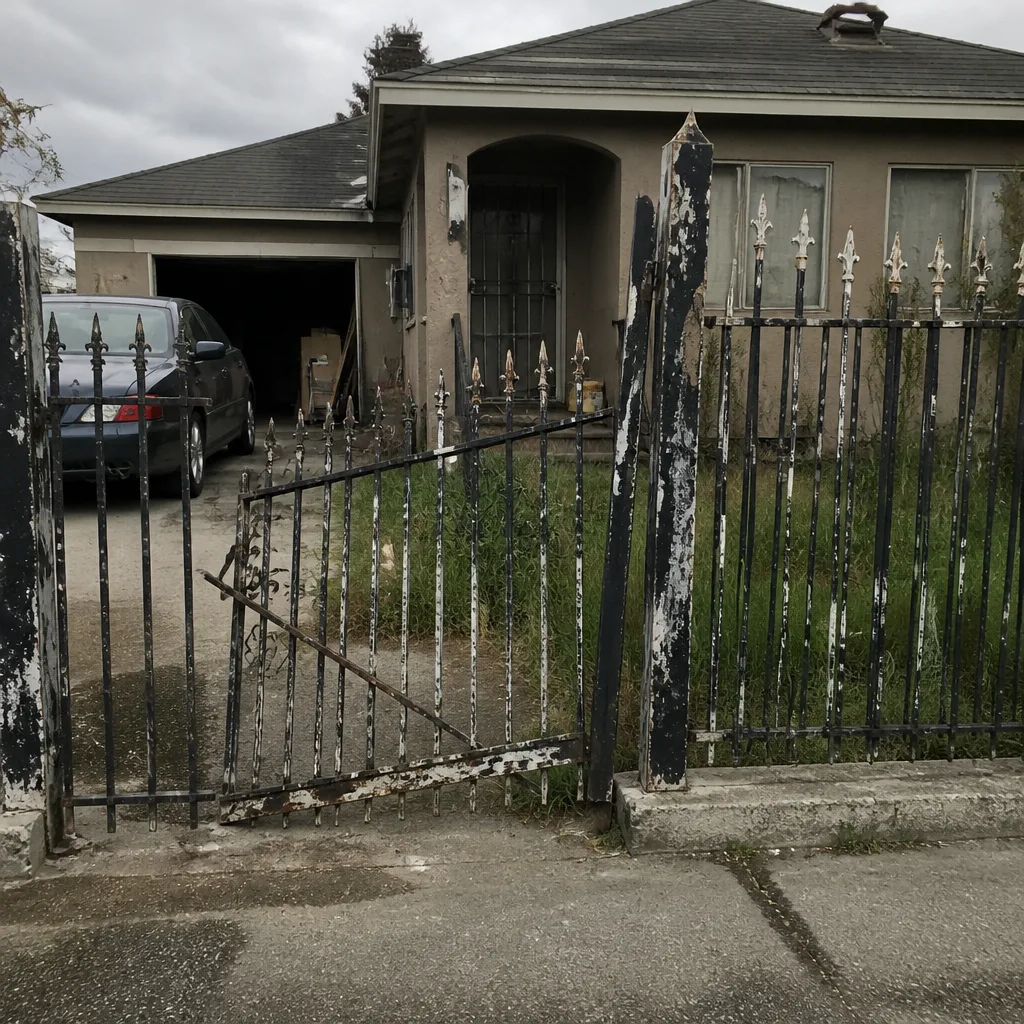
See the difference
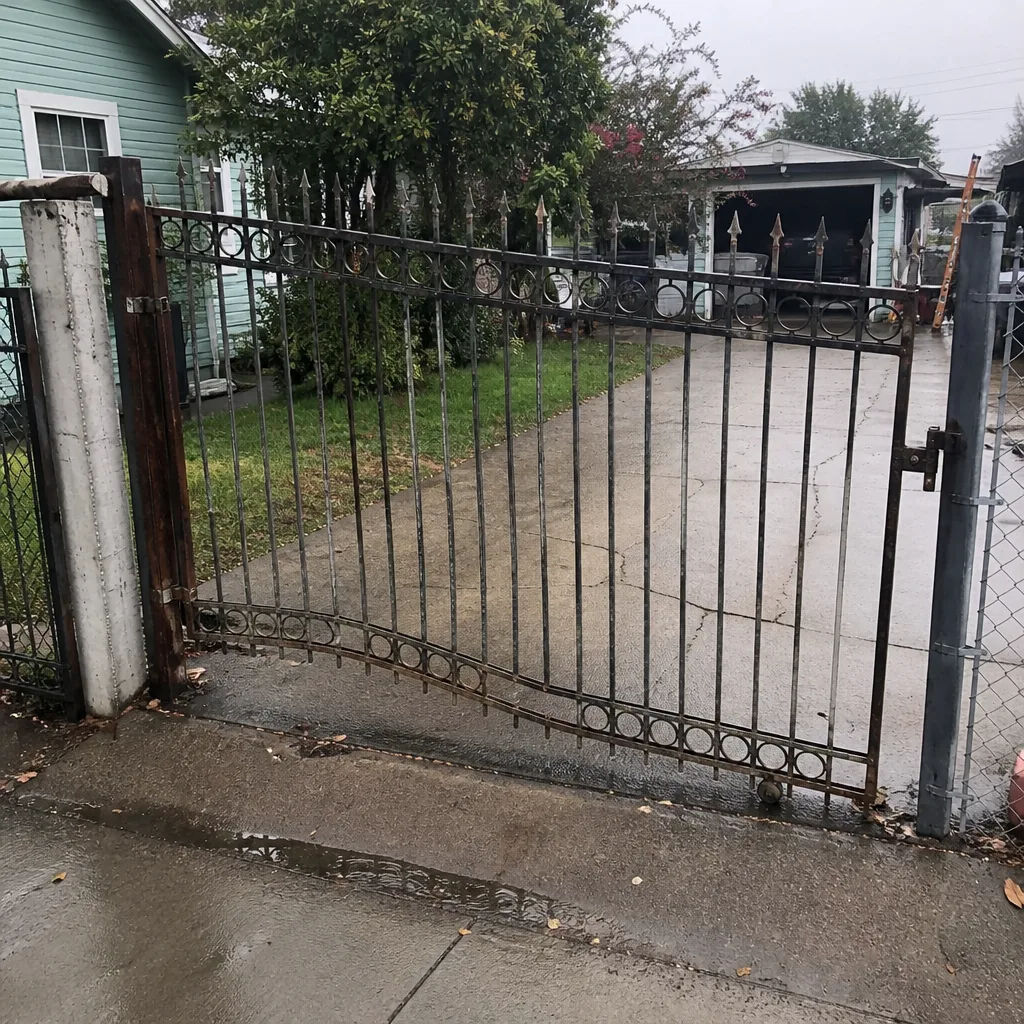 Before
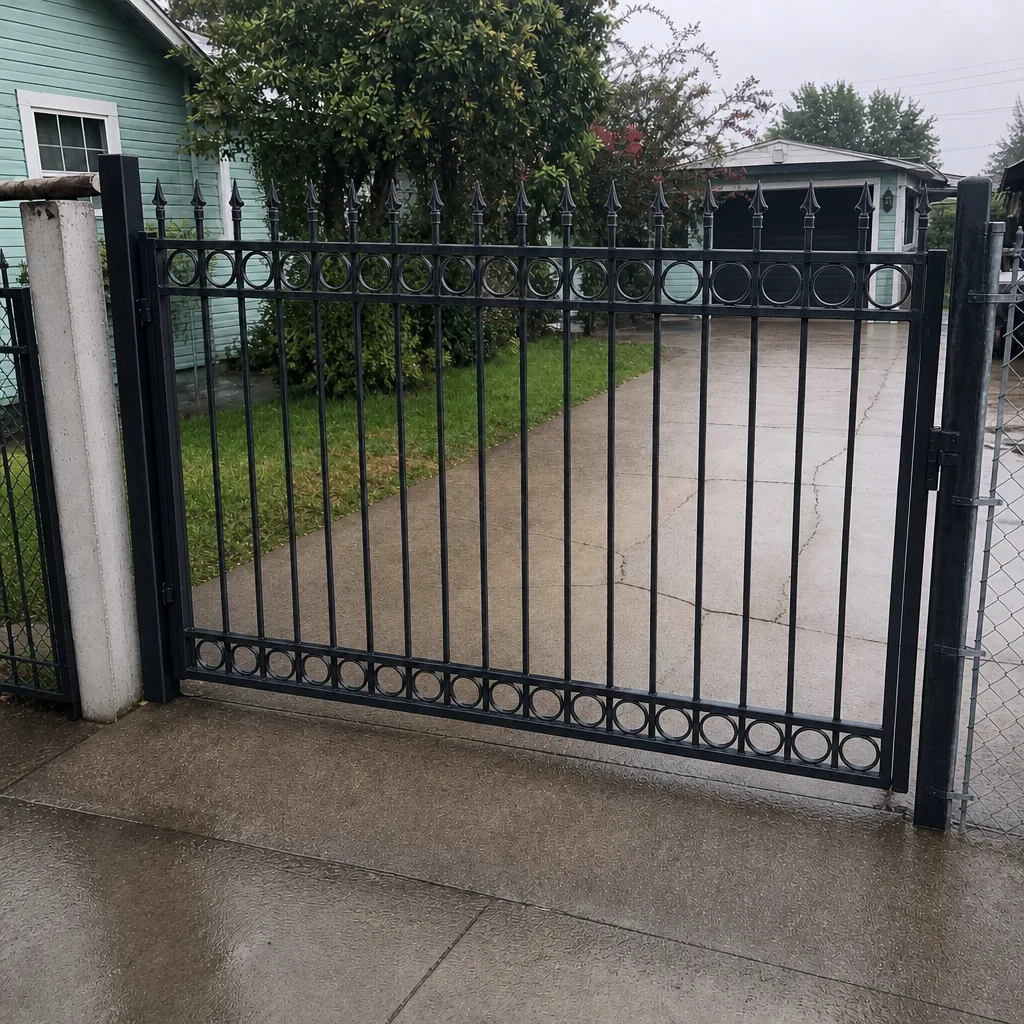 After
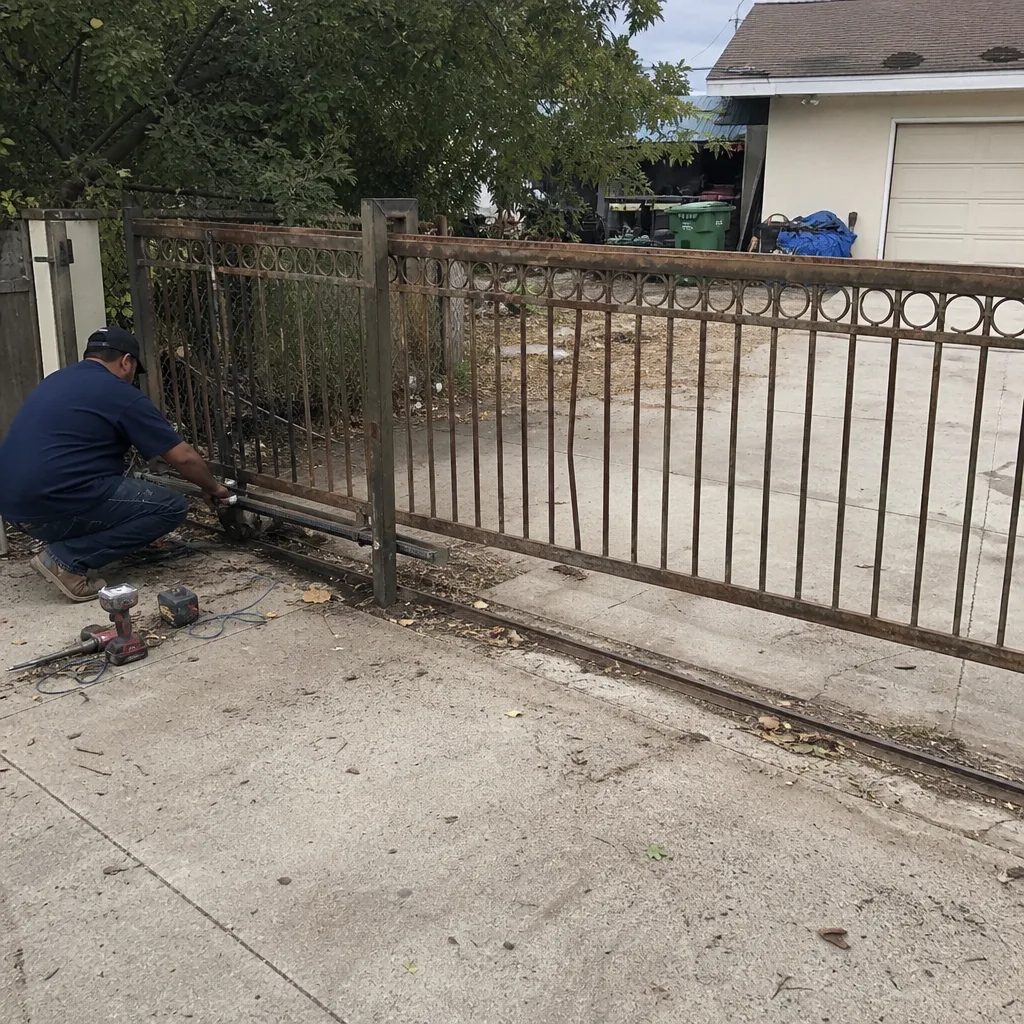 Before
 After
 Before
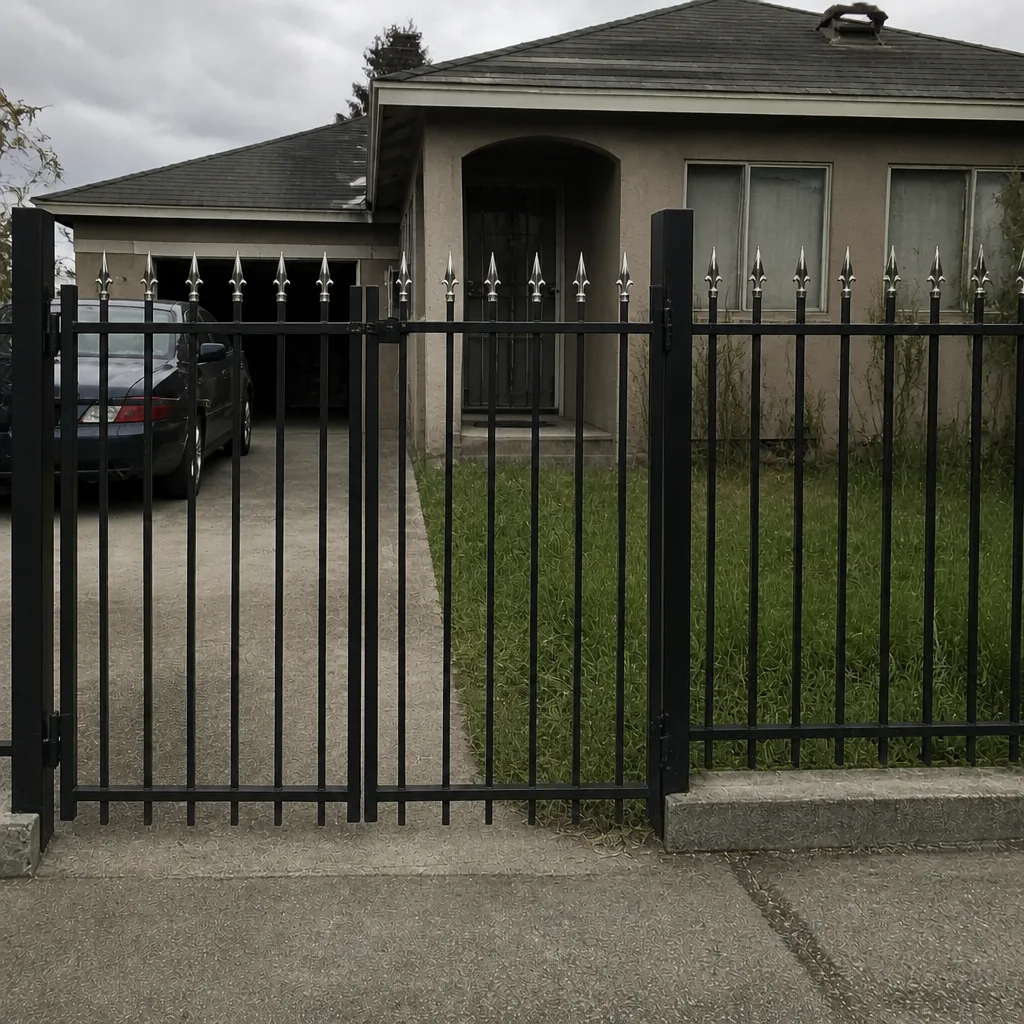 After
When to Call a Professional
Call a professional gate specialist when the problem falls in the electrical, control, or structural category. That includes any operator symptom (board, limits, photo-eyes, loop, wiring), any symptom of a gate framing failure (cracks, sagging, skewed posts), and any borderline case where a repair depends on a diagnostic tool you don’t own. Also call if you’ve already attempted a repair and it didn’t hold, or if the safety edges and photo-eyes haven’t been tested after any operator work.
Our technicians have up to 11 years of experience diagnosing gate-specific failures, and we’re trained on LiftMaster, FAAC, BFT, Linear, Viking, Ghost Controls, DoorKing, Elite, and Mighty Mule systems. Gate Repair Modesto offers free estimates in Modesto. Call (844) 834-3242. We answer 24/7. Fast dispatch from 7am to 7pm, Sunday through Friday.
Frequently Asked Questions
Mechanical repairs such as latch adjustment, hinge replacement on a light gate, and roller replacement are safe for a careful homeowner with basic tools. Electrical and structural repairs are not safe to DIY. Heavy gate panels can crush, slide gates can come off the track, and operator wiring involves line voltage. If the repair touches the operator or the frame, it belongs in professional hands.
Watch what the gate does. If it drags, sticks, or stops short at a consistent point, the cause is often mechanical: track, rollers, or hinges. If it reverses randomly, opens or closes on its own, ignores remotes, or fails to detect vehicles, the cause is usually electrical: photo-eyes, loop, limits, or board. If the behavior is intermittent and sunny-weather related, suspect the photo-eye receiver.
A gate that reverses on sunny afternoons is usually experiencing photo-eye interference, not a controller fault. Low sun angles can swamp the receiver with polarized light, causing it to drop its signal and the operator to read it as an obstruction. A signal tester will confirm this. Repositioning or sun-shielding the receiver usually solves it without replacing the operator.
You can physically swap the board, but the repair isn’t done until the parameters are transferred. Speed, sensitivity, limits, and safety edge behavior must be set for your specific gate. A new board running on default values will behave unpredictably. On commercial operators like FAAC or DoorKing, a wrong parameter can stop the gate entirely. We recommend having a specialist handle the swap and parameter transfer.
Yes, if the repair involved the operator. UL 325 requires entrapment protection, and the only way to confirm the safety edge or photo-eye still works is to test it with an obstruction. Visual inspection doesn’t count. If the safety device failed because of an untested repair and someone was injured, the person who performed the repair can share liability under California law.
The most expensive pattern is replacing the wrong part because no diagnostic tool was used. A homeowner sees a gate that binds, assumes the motor is dead, replaces it, and discovers the real cause was a limit switch, a loop detector, or a track alignment. Now the working original motor is gone and the actual repair hasn’t started. That’s the pattern a loop detector tester or multimeter prevents.
The Bottom Line
Sorting your gate repair by category, not by difficulty, is what saves money and keeps you safe. Mechanical problems (latches, rollers, hinges, tracks) are genuinely DIY-friendly with the right tools and the right care. Electrical problems depend on diagnosis, and diagnosis depends on instruments: a multimeter, a loop detector tester, and a frequency checker. Structural problems belong to specialists, because heavy gate panels and welds don’t forgive mistakes. After any operator repair, UL 325 safety-edge testing is mandatory and carries real liability. If the repair sits in the electrical or structural category, or you’ve already tried and it didn’t hold, that’s your signal. At Modesto, our technicians can walk through all three categories. Our gate repair team offers free estimates, and we get the diagnosis right the first time.
Call (844) 834-3242 for a free estimate. We answer 24/7. Fast dispatch from 7am to 7pm, Sunday through Friday.
Written by the team at Gate Repair Modesto.